Since today is earth day, I wanted to share one of our favorite crafts that is both creative and uses recycled paper/cardboard. It is a wonderful earth friendly project. Some younger children may need help but this makes for a great activity for preschoolers all the way to high school kids. My children and I decided to recycle our MadeGood cardboard and wrappers to make one as a family in honor of Earth Day. It is super easy, but lots of fun!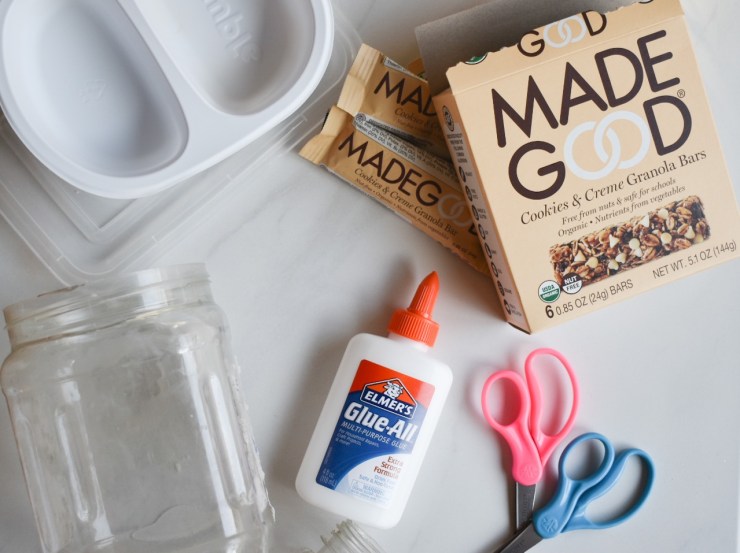
What you will need:
• MadeGood food box and granola wrappers. You can also use other recycled items such as magazines, thin boxes, wrapping paper, tissues paper, or construction paper.
•A plastic container to form the base of your paper mache pot. Try to find one that has both smooth sides and a wider opening than the rest of the body shape. We chose to use a recycled trail mix container for ours.
• Child friendly, white glue
• Water
• Kid safe scissors
• A low sided tray to use during the project to hold the glue. We used the top of a reusable tupperware.
• Plastic food wrap
• Paint brush
• Masking tape
How to make:
1. Start by preparing your recycled pieces. I ripped the MadeGood box into strips and then cut into squares, triangles, and rectangles. I let my kids help with kid safe scissors. Cut them into about 1/2-1 inch in size. You can rip and cut them into any shape you like.
2. Prepare your pot base by wrapping plastic wrap around the body of the recycled container once. This helps prevent the paper mache from sticking to the base. If you need, use a little bit of masking tape at the top to secure the plastic wrap. Be careful not to paper mache over the masking tape as this can cause difficulties when trying to remove the completed mache pot once it is dry.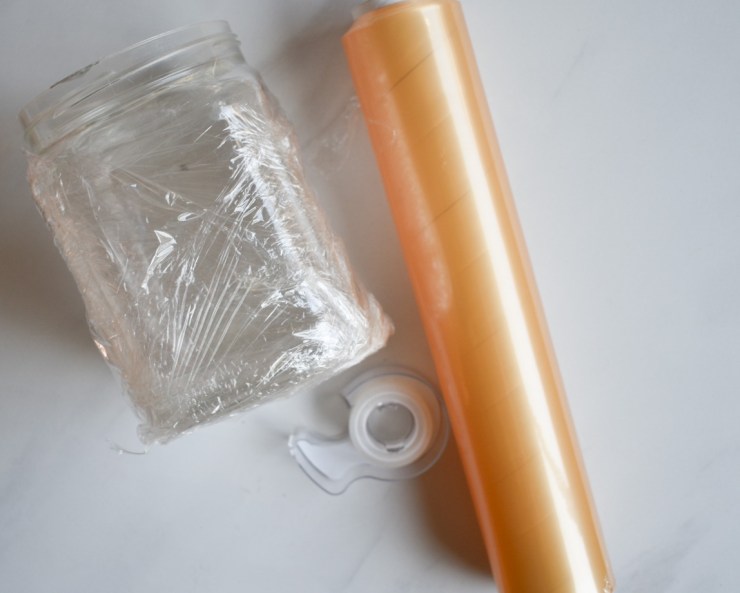
3. In a separate dish or tray, prepare your glue by diluting it with water until it is slightly runny. We used a paint brush to help mix the glue and water.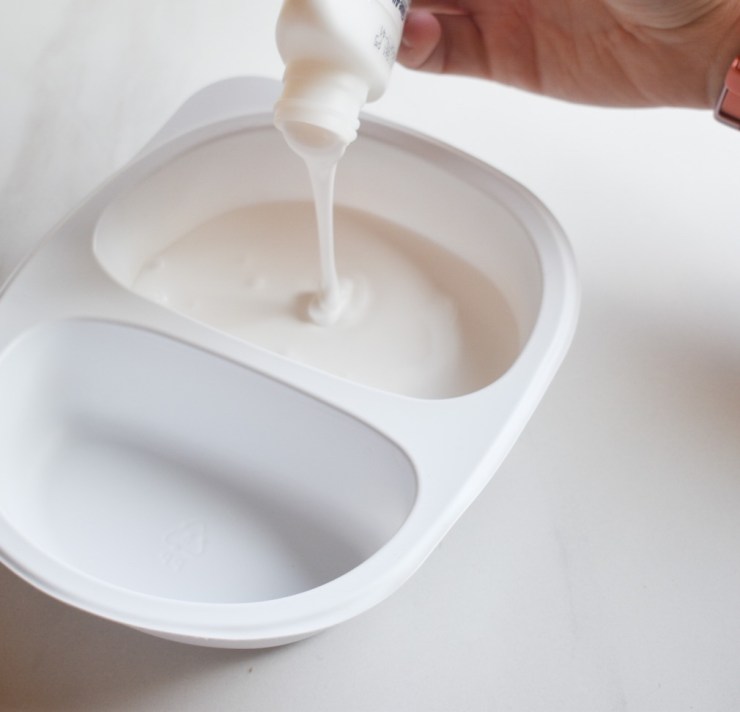
4. Turn your container upside down and begin on the base. Dip each piece of recycled paper into the glue until it is covered completely and saturated. Layer thinly onto the container. You can use your finger to smooth the layer and remove excess glue. To ensure it is sturdy, overlap the pieces to fully cover the container. I recommend doing 2-3 layers total. Continue to smooth as you go and remove excess glue as needed.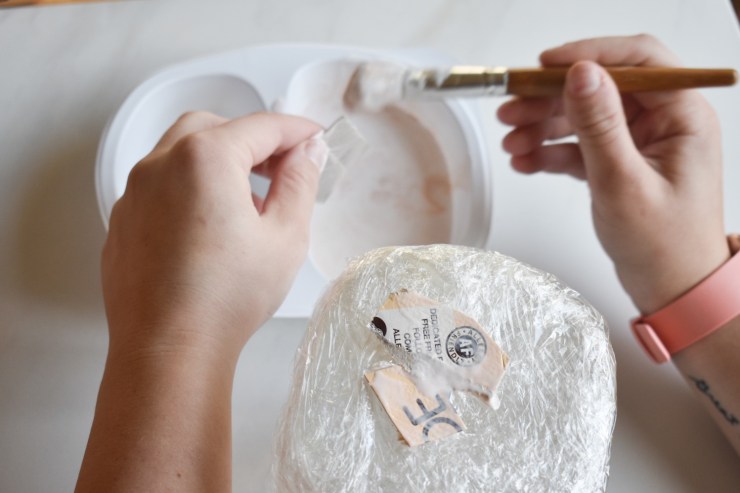
5. Allow your pot to dry completely. Depending upon the temperature of the room and how thick your recycled paper is, it can take up to 24-48 hours to dry completely. If you want to speed up the process, lay outside in the direct sunlight to dry faster.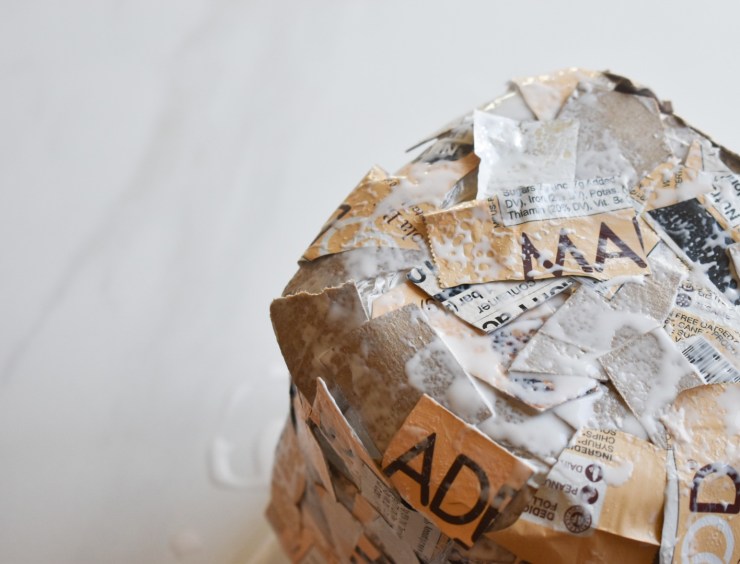
6. Check the pot to see if it is dry. Once it is completely dry, remove any masking tape you may have used. Slip the pot and plastic wrap off the container. Sometimes you will have to squeeze the inside container a bit and twist in order to remove the pot from the container safely.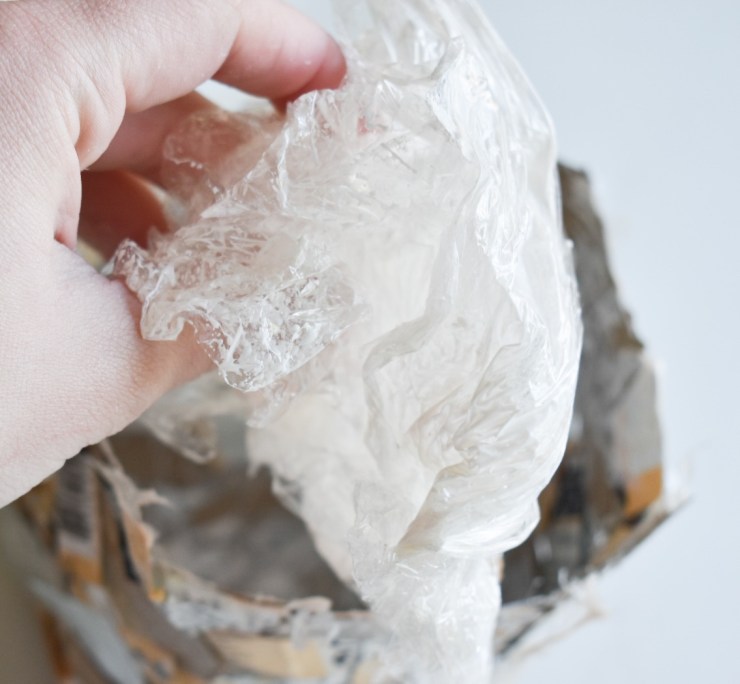
7. Gently pull and remove the plastic wrap from inside the paper mache pot. Feel free to trim the top edge if you want.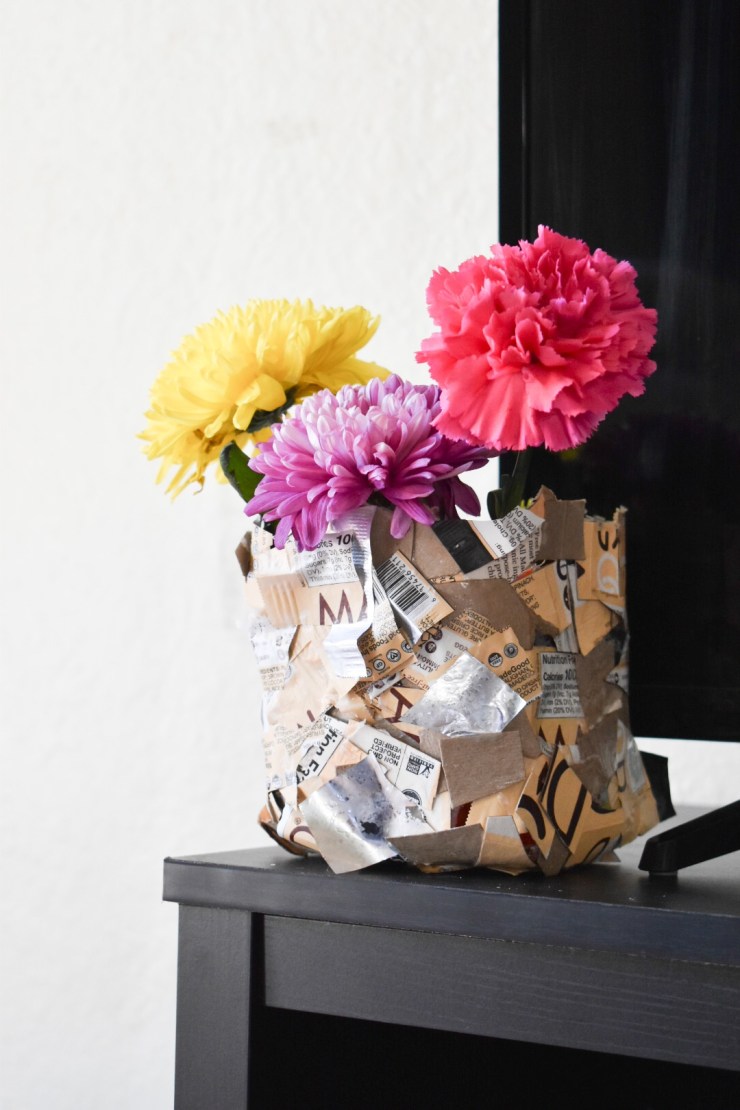
And just like that, you have a paper mache pot made from recycled MadeGood boxes and wrappers.
You can fill it with goodies, art supplies, keys, or even jewelry! They are even perfect for fresh flowers or collecting items during outside scavenger hunts.
Xoxo
Christian
